XAMPP is an independent server platform, which consists mainly of the MySQL database, the Apache web server and interpreters for scripting languages: PHP and Perl. The name comes from the abbreviation of X (for any of the different operating systems), Apache, MySQL, PHP, Perl. The program is released under the GNU license and acts as a free web server, it easy to use and able to interpret dynamic pages. Currently XAMPP is available for major operating system (GNU/Linux Distributions, Microsoft Windows, Solaris, and MacOS X).
The latest XAMPP now available in version 1.8.3 has the following features:
- Apache 2.4.7;
- MySQL 5.6.14;
- PHP 5.5.6;
- PEAR + SQLite 2.8.17/3.7.17 + multibyte support (mbstring);
- Perl 5.16.3;
- phpMyAdmin 4.0.9;
- OpenSSL 1.0.1e;
- ProFTPD 1.3.4c;
- GD 2.0.35;
- Freetype2 2.4.8.
More info about XAMPP you can see at XAMPP Official Website.
Installing XAMPP on Ubuntu 13.10, 13.04, 12.10, 12.04 and Linux Mint 13/14/15/16
Now let’s see how to installing XAMPP 1.8.3 with PHP 5.5 in Ubuntu and derivatives, but no other previous Xampp 1.8.2 with PHP 5.4 can also be installed by following the same instructions. XAMPP 1.8.3, Tested on Ubuntu 13.10 (64 bit) without problems.
Step 1. Open terminal and download XAMPP 1.8.3 package.
for 32-bit:
wget http://sourceforge.net/projects/xampp/files/XAMPP%20Linux/1.8.3/xampp-linux-1.8.3-2-installer.run/download
for 64-bit:
wget http://sourceforge.net/projects/xampp/files/XAMPP%20Linux/1.8.3/xampp-linux-x64-1.8.3-2-installer.run/download
Step 2. After that, Change xampp package installer to executable then run to installing with following command:
sudo chmod +x xampp-linux-x64-1.8.3-2-installer.run
sudo ./xampp-linux-x64-1.8.3-2-installer.run
The window installation wizard will appear:
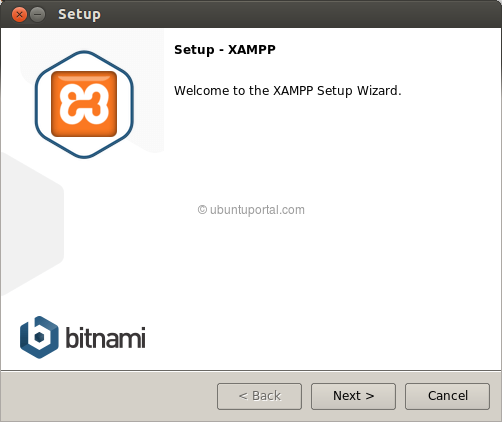
Click “Next”. Another appears:
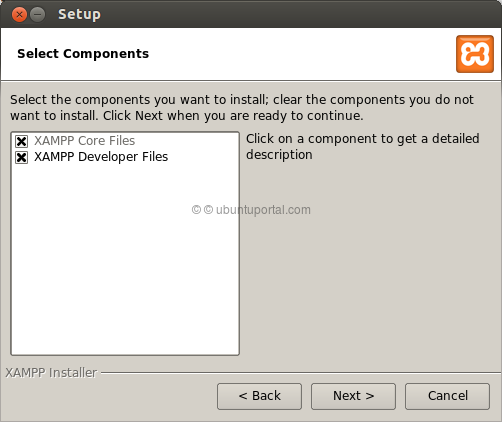
Click “Next” again. And you will go to the next window:
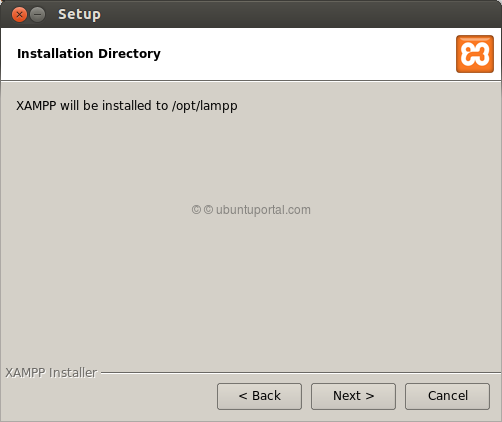
Click “Next” again. And will to the following:
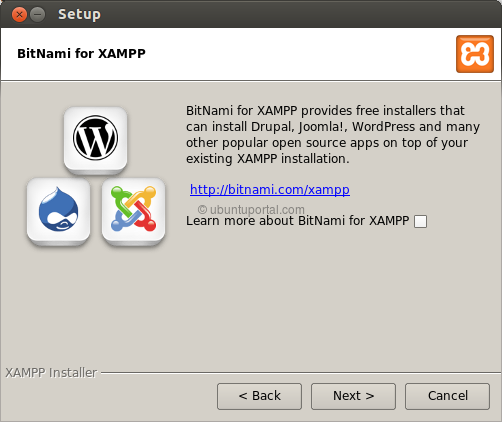
Uncheck: “Learn more about BitNami for XAMPP”
And click “Next”
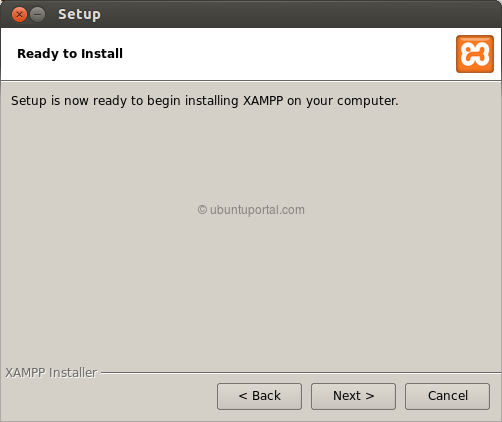
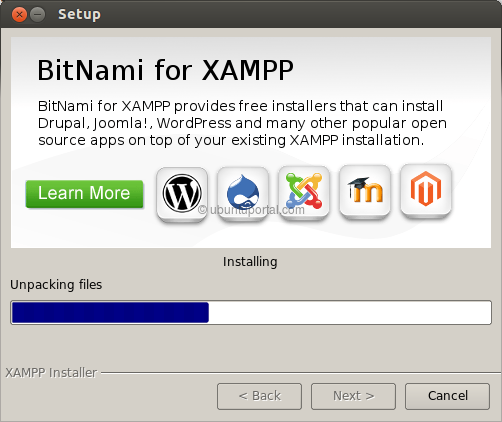
Click Next again. Wait for the installation:
When finished, this will be the last window:
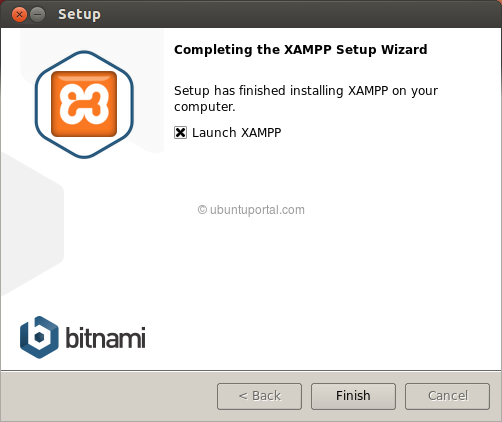
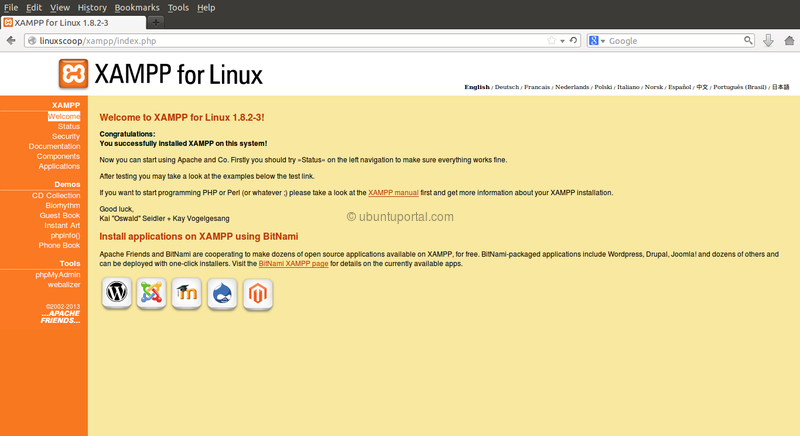
When you checked “launch XAMPP” before clicking finish A page will open in your browser, If the page does not open automatically, go into your browser’s address and type http://localhost/xampp
To stop the XAMPP service:
sudo /opt/lampp/lampp stop
To start the XAMPP service:
sudo /opt/lampp/lampp start
To open the page of XAMPP, whenever you want, type in the address bar of your browser: http://localhost/xampp/
sudo nano /etc/rc.local
#! /bin/ bash
#
# rc.local
#
# This script is executed at the end of each multiuser runlevel.
# Make sure que the script will "exit 0" on success or any other
# value on error.
#
# In order to enable or disable this script just change the execution
# bits.
#
# By default this script does nothing.
/opt/lampp/lampp start
exit 0
I added a line just before the “exit 0.” Save and close the file. When you restart your system, the command that was added runs and starts XAMPP. . Note: if anyone knows a more “correct” way to autostart XAMPP, please comment Lastly.
If you have to set passwords XAMPP. To do this, run:
sudo /opt/lampp/lampp security
Questions on various passwords will be made. Would be appreciated define what Restart XAMPP:
sudo /opt/lampp/lampp restart
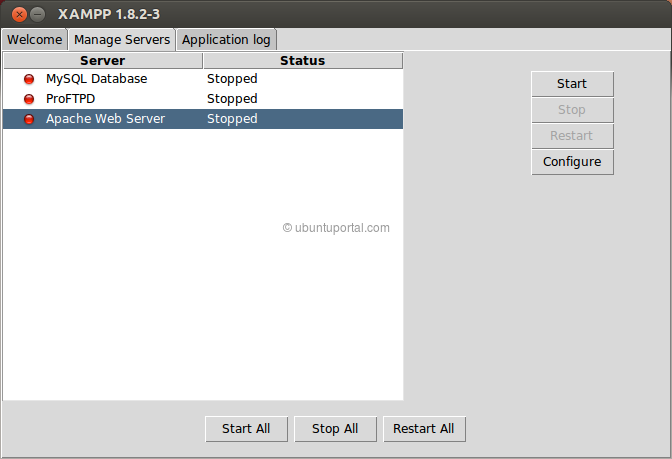
Or simply use the graphical interface of the program to start and stop the web server